
This is going to be real short and sweet because I am feeling crummy, but I really want you to have this recipe! I shared a short, honest update on my Facebook page (you can read it here) about what's going on, but in short I'm struggling with some health issues that are sapping all my energy, so the blog has had to take a back seat in my life.
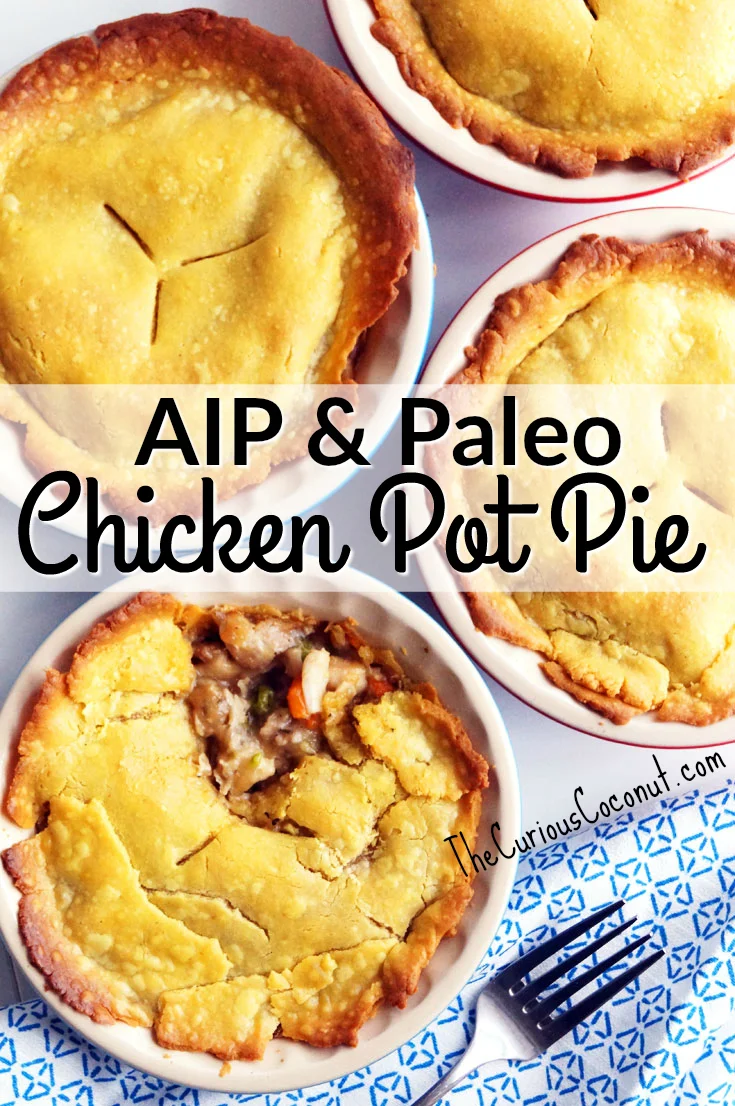
Anyway, this chicken pot pie recipe is not just Paleo but it is also AIP and omg the crust is sooo perfect. It's the same crust as my Steak and Kidney Pie (which, by the way, TASTES AMAZING - kidney is NOT gross it is incredibly delicious!) with a traditional style filling.
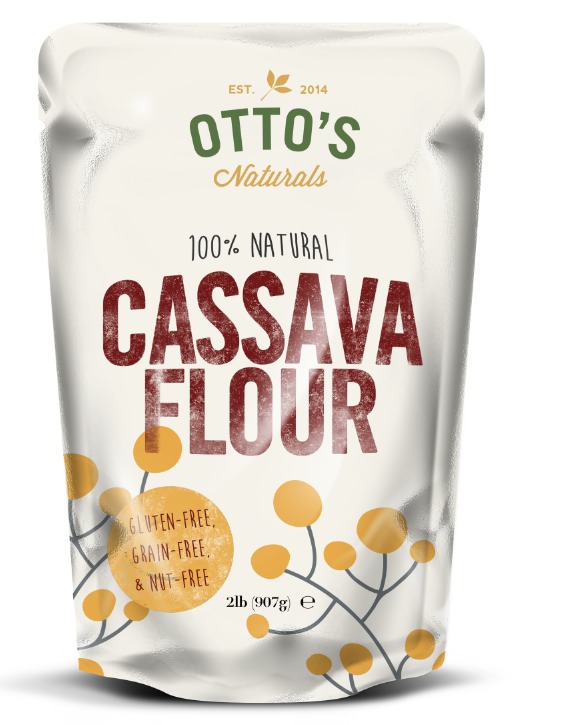
If you don't already have cassava flour in your pantry you need it! It's not the same thing as tapioca starch, although it does come from the same plant: yuca (also known as manioc or cassava). Tapioca starch is simply the extracted starch, but cassava flour is the whole root, dried and ground into flour. It works as a 1:1 replacement for wheat flour in many recipes and has a great mild taste. Get it here (DO NOT order on Amazon because you'll pay a lot extra!!)
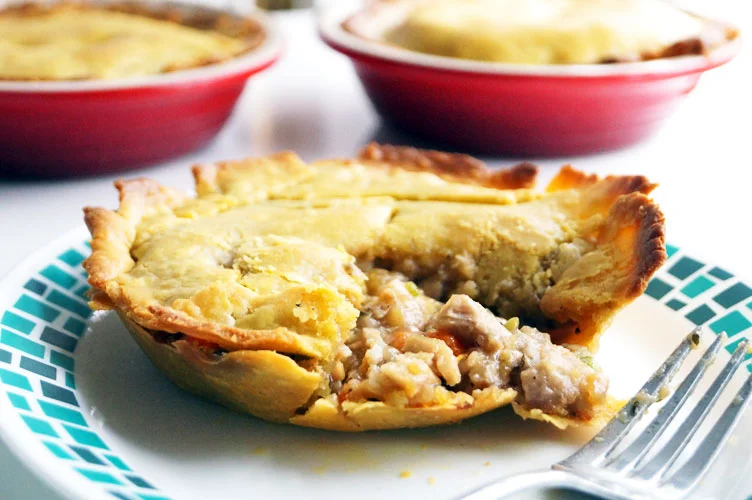
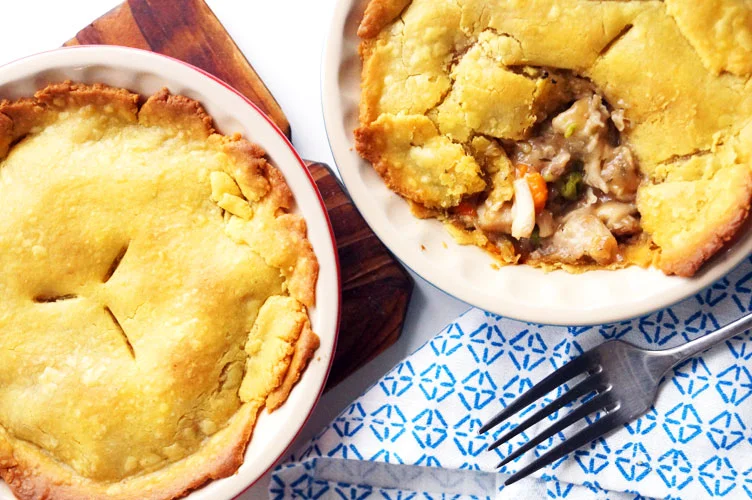
Also note that this crust will hold its shape, so you can lift the pies up out of the mini pie dishes to enjoy them on a plate (see above!), or you can serve them in their individual dishes.
Anyway I hope you enjoy - this is really the perfect winter comfort food! But, as with all recipes using any type of flour or starch (yes, even the AIP ones!), please view these as a treat, even though they are a savory main dish.

AIP and Paleo Chicken Pot Pie
Published 02/11/2016
This chicken pot pie uses a simple yet amazing crust that tastes like the real deal and only uses AIP-friendly ingredients! The filling is made ultra rich with a fabuous cassava flour roux. Enjoy this on a cold winter evening for ultra comfort!
Ingredients
For the filling:
- 6 TB fat of choice (lard, tallow, duck or chicken fat, coconut oil (although not recommended due to the flavor it imparts) or butter (my fave) if tolerated and not following AIP)
- 6 TB cassava flour
- 1 cup mirepoix (1/2 cup diced onion, 1/4 cup diced carrot, 1/4 cup diced celery)
- 1/2 cup frozen peas (for strict AIP substitute an additional 1/2 cup of mirepoix)
- 1 tsp dried thyme
- 1 tsp dried or 1 TB fresh chopped parsley
- 1/2 tsp dried rosemary
- 1 tsp finely ground unrefined salt
- optional: 1 tsp ground black pepper (which some choose to omit on AIP)
- 1 and 1/2 cups chicken broth (this one is good if you don't have homemade)
- approximately 12 ounces cooked and shredded chicken, thigh meat preferred (about 1 and 1/4 pounds raw boneless skinless thighs will yield this much - bake them in a glass dish at 350 for about a half hour or until cooked through and juices run clear)
For the crust:
- 185 grams cassava flour (approximately 1-1/4 cups plus 2 TB)
- 30 grams tapioca starch (approx. 1/4 cup)
- 65 grams palm shortening (about 5 TB)
- 30 grams canned pumpkin puree (about 2 scant TB)
- 165 grams coconut milk (about a scant 3/4 cup)
- 2 grams unrefined salt, fine grind (about 1 tsp)
Instructions
- Begin by making a light/medium "peanut" colored roux. Note: make sure you have your mirepoix ready to add immediately once your roux reaches the right color. Heat a large frying pan over medium heat. Add your fat of choice and allow it to melt. Whisk in cassava flour ensuring there are no lumps. It will bubble and sizzle as all of the moisture cooks out. Watch it carefully, stirring often, as the flour browns. You want it to be a light/medium brown color, not a dark/chocolate color. It should take about 5-7 minutes, and it will begin to smell a bit like popcorn. DON'T BURN THE ROUX! It can happen VERY quickly.
- Immediately as soon as the roux reaches the right color, add the mirepoix and the peas (if using) and stir with a wooden spoon to combine. Cook until the veggies are soft and fragrant, stirring frequently and scraping the bottom of the pan.
- Add cooked shredded chicken, seasonings, and broth and stir to combine. Let simmer about 5 minutes then remove from heat. Place filling mixture in the fridge while you work on the crust (putting hot filling in the crust will make it wilt and/or fall apart)
- Now, make the crust. First, pre-heat oven to 400F. Add all crust ingredients except coconut milk to a large mixing bowl (I recommend measuring by WEIGHT not volume - just place your bowl on your scale, zero it, add the first ingredient, zero it, add second ingredient, zero it, and so forth). Use a dough cutter or sturdy fork to combine the pumpkin and fat into the flours. Add coconut milk and stir to form a batter. Use hands to work the dough into a ball and divide into 8 equal sized sections (one for top and bottom crust of each pie - I weighed my sections to ensure they were evenly sized). Roll out 4 of the sections between 2 sheets of parchment paper for the 4 bottom crusts. Carefully lay the crusts into the 5" mini pie dishes and press into place. Optional: for extra crispy bottom crusts, pre-bake them for about 5-8 minutes before adding filling and top crust.
- Divide the chicken filling evenly between the four pies and smooth with a spoon. Carefully place the top crusts on each pie - it takes some finess and luck for it to go on in one unbroken piece. If it breaks, just smooth it back together with your fingers - using a bit of water can help patch it up. This is for looks only - won't affect the taste one bit if it breaks :)
- Poke about 3 vent holes in the top of the crust. Bake for about 35-45 minutes, or until the filling is bubbling and the crust is a lovely golden brown. I recommend using pie shields after the first 15 or 20 minutes to avoid burned edges on the crust.
- DIG IN AND ENJOY!
Cook time: 00 hrs. 35-45 mins.
Total time: 55-65 mins.
Recommended Tools and Ingredients
These are affiliate links to the exact products I use in my own home. I only recommend products I love and trust, and your purchase through these links supports all the free content on this site! THANK YOU! <3