This post brought to you by Otto's Cassava Flour. All opinions expressed are my own.

Ever since my best-selling cookbook Latin American Paleo Cooking came out in 2017, my recipe for tapioca cheese has EXPLODED. It is the first ever dairy-free cheese recipe in the Paleo and AIP community that actually melts and stretches since it is not made with gelatin or ground nuts.
In my cookbook, it is called Queso Blanco, but I just couldn't stand not having that recipe available to everyone, so I published it on my blog as tapioca cheese.
And boy oh boy has it made so many of you happy to enjoy a dairy-free cheese suitable for Paleo and AIP that actually melts and stretches like real cheese.
Tapioca cheese is the perfect Paleo and AIP replacement for mozzarella, and has the texture and consistency of fresh mozzarella balls. It's also easy to make vegan to suit so many dietary needs.
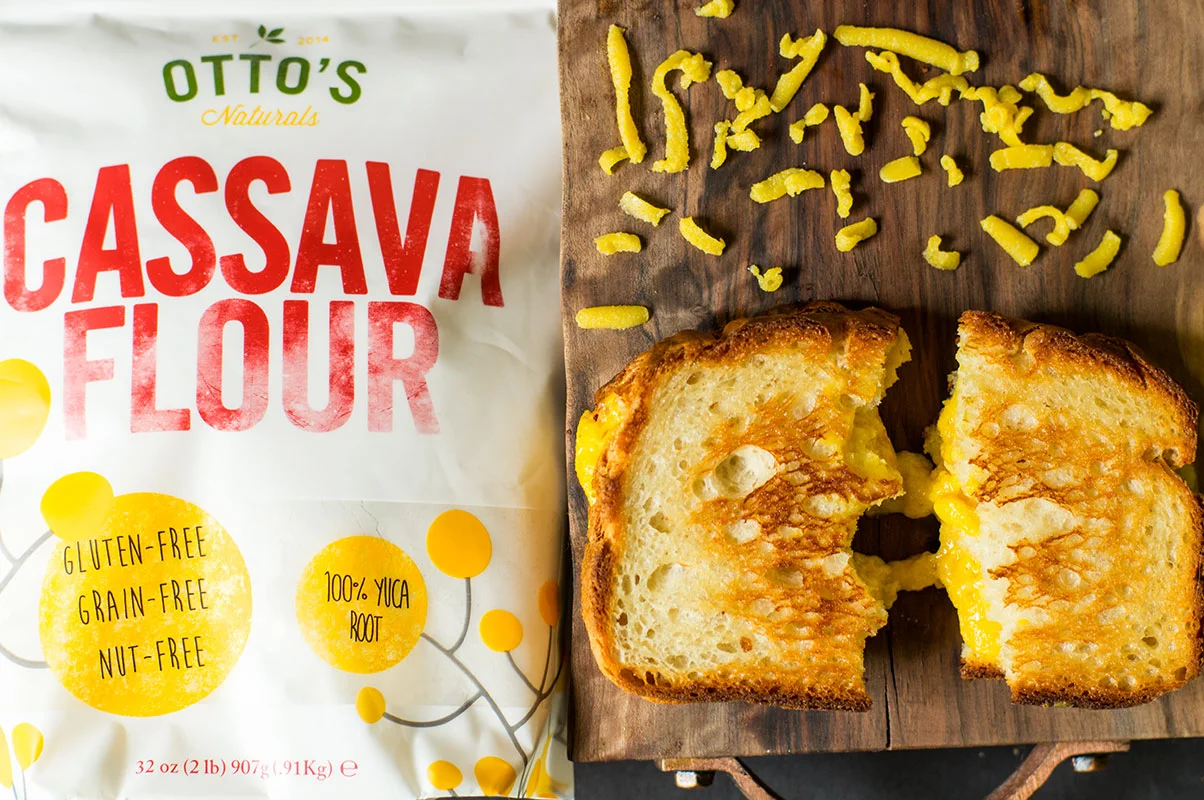
I didn't want to stop there with my cheese-making, and was having a hankering for a Paleo AIP cheese that would go great in a grilled cheese sandwich, or on top of a burger, or on a bacon egg cheese biscuit. Yup, I needed to make a Paleo cheddar cheese.
I knew that tapioca cheese wasn't quite the right texture for a cheddar, so started brainstorming. I didn't want to use cashews or another type of nut since allergies are so common and I personally have found it hard to get a smooth texture with nut-based cheeses since I don't have a $500 high-powered blender.
So I decided to try a little experiment with a different Paleo AIP flour to see what would happen. In fact, it's my favorite Paleo AIP flour to work with: Otto's Cassava Flour!
The Difference Between Cassava Flour and Tapioca Starch
I know it gets really confusing to talk about the plant Manihot esculenta and the various products derived from it so let me break it down for you.
The starchy tuber is known by multiple names depending on the country: yuca, cassava, manioc, mandioca, Brazilian arrowroot (which is extra confusing since it is not even related to true arrowroot).
I call the root yuca (pronounced YOU-kuh) and it is important to know that it is not even related to yucca (pronounced YUCK-uh) so please don't call it that!
Cassava flour and tapioca starch both come from the yuca root. Cassava flour is made from the whole tuber and thus it contains fiber and some micronutrients.
Tapioca starch is the extracted starch and thus has no fiber and little nutrition.
Think of cornmeal and corn starch, or potato flour and potato starch to understand how these two gluten-free Paleo AIP flours behave differently. It is extremely rare to be able to substitute one for another in recipes, particularly breads and other baked goods.
And it is also rare to be able to use tapioca starch all by itself to make a Paleo or AIP baked good, but it's becoming more common to find recipes that only need Otto's Cassava Flour. Many of the recipes on my blog are #OnlyOttos (search that tag on IG for even more!)
I love it when recipes only need ONE flour since it means they're easier and more foolproof, since with every flour you have to measure there is room for error and a recipe fail.
One important thing to note about cassava flour is that for best results you should always measure by WEIGHT not VOLUME. This is the standard way to measure dry ingredients outside of the U.S., but I've made a habit of it the last several years since it is MUCH more accurate.
All you need is a kitchen scale (I use this one). Place a bowl on top then turn it on to tare it (meaning: it says 0g with the bowl on top). Then add your flour until you've reached the needed weight. So easy!
If you must measure by volume then please do not ever dig your measuring spoon into the bag and scoop up the flour. This packs it down and will cause you to get way more flour than you need!
Instead, use a spoon to pick up some flour and drop it into your measuring spoon. I usually place the spoon over a plate to catch excess flour. Then, use the straight edge of a knife to sweep across the top of the measuring spoon to level it.
Check out all of my cassava flour recipes below (use the arrows to scroll through the recipes):


Paleo AIP Breads And Cheese With Otto's Cassava Flour
Take a moment to realize this:
you can make both bread and cheese with Otto's Cassava Flour
All you need is ONE gluten-free, grain-free flour in your pantry and you can re-create authentic bread items for Paleo and AIP diets like biscuits, bagels, French bread, sandwich bread, and more PLUS make a meltable, stretchy Paleo and AIP cheddar cheese to go with the bread.
It's a pretty magical flour if you ask me!
And if you are looking for AIP elimination phase bread items to enjoy with this cheese, you are in the right place since those are kind of my specialty ;-)
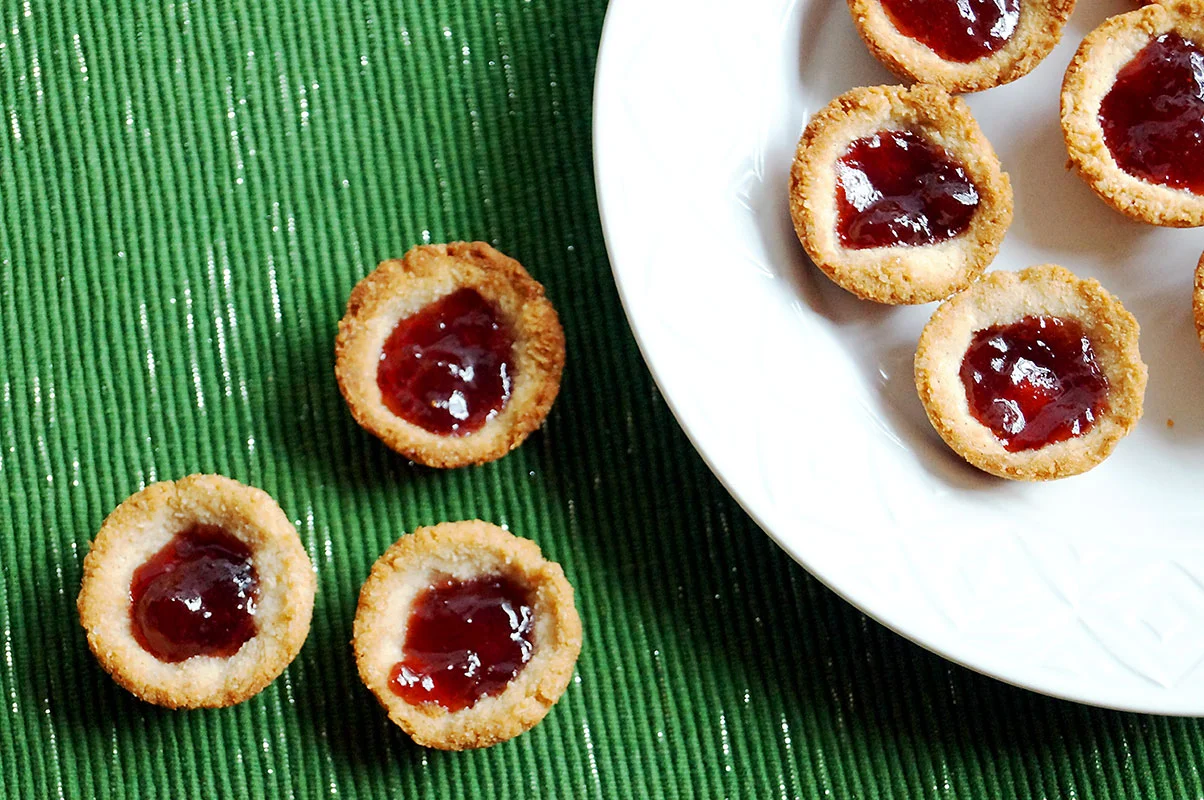
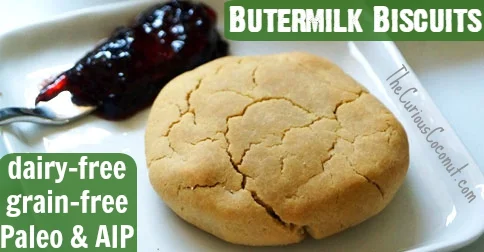
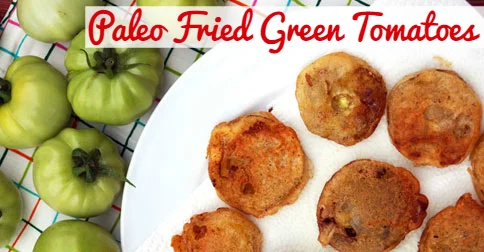
The biscuits and bagels I linked to above are AIP and so are my famous plantain buns (Boy George loves them). I also have the most perfect Paleo and AIP crackers.
Cassava Cheese vs TApioca Cheese
When I first started experimenting with using Otto's cassava flour to make Paleo cheese I noticed multiple key differences:
• Cassava flour leads to a cheese with a softer, fluffier mouthfeel that is quite lovely
• Cassava cheese is accessible to more people since tapioca starch sensitivity does NOT mean you also have a cassava flour sensitivity. In fact, the owner of Otto's herself has to avoid the starch but can enjoy the flour with no problems.
• Cassava cheese also has more nutrition than tapioca cheese since the flour is unrefined
• Less cassava flour is needed vs tapioca starch to cause the reaction during cooking that results in meltable, stretchy dairy-free cheese
• Even though it stretches some, it doesn't quite have the same impressive stretch power as tapioca cheese
• More water is needed to make the slurry for the cassava flour
• Cassava flour-based cheese needs to cook a bit longer
• Cassava flour-based cheese NEEDS seasonings. The nutritional yeast and garlic and onion are not optional ingredients.
To make a sharp cheddar flavor, I experimented with adding vitamin C crystals to the cheese. If you have ever taken vitamin C crystals before you know they have a distinct sharp, sour flavor.
It is important to note, though, that if you use vitamin C crystals in option #1 for the cheese that it does not set as firmly and will loose its hold over time in the fridge. It does not affect the texture or setting power of option #2, though.
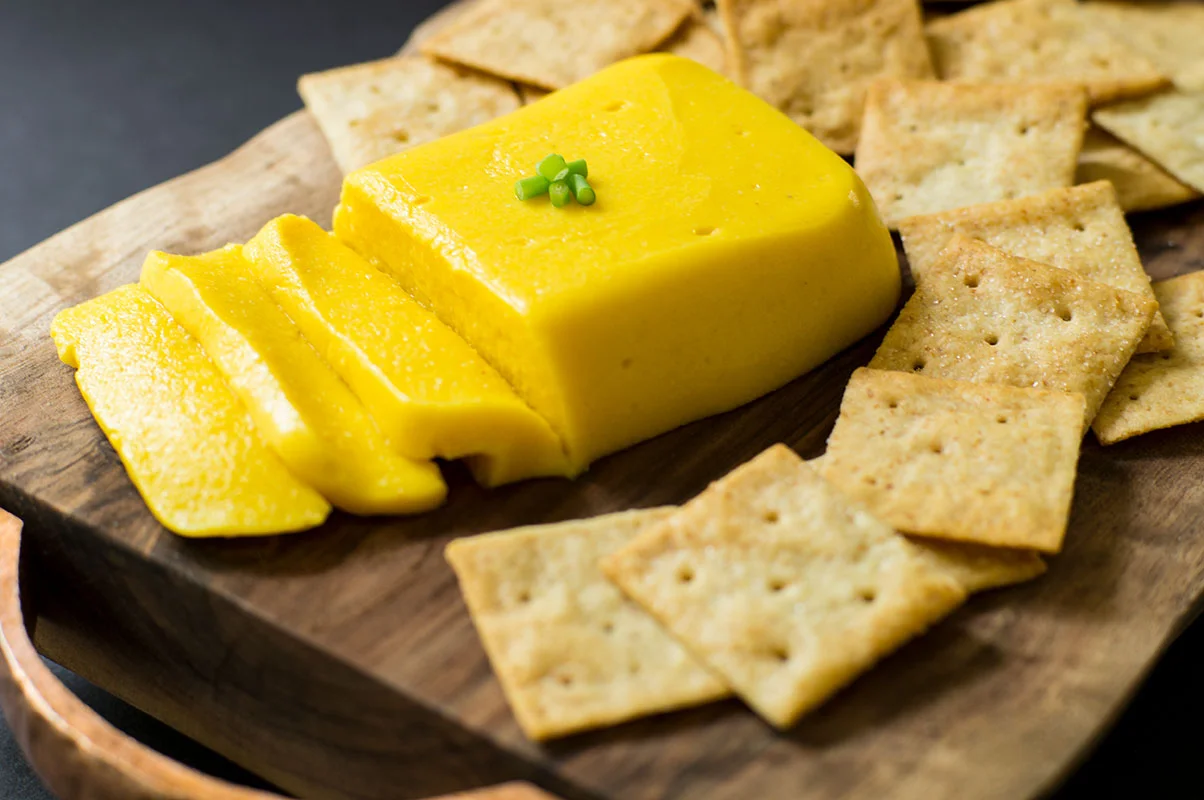
How To Use Cassava Cheddar Cheese
Think of all the recipes that use cheddar cheese...there are so many options!
First off, let me talk in detail about the two cheese options I've presented here.
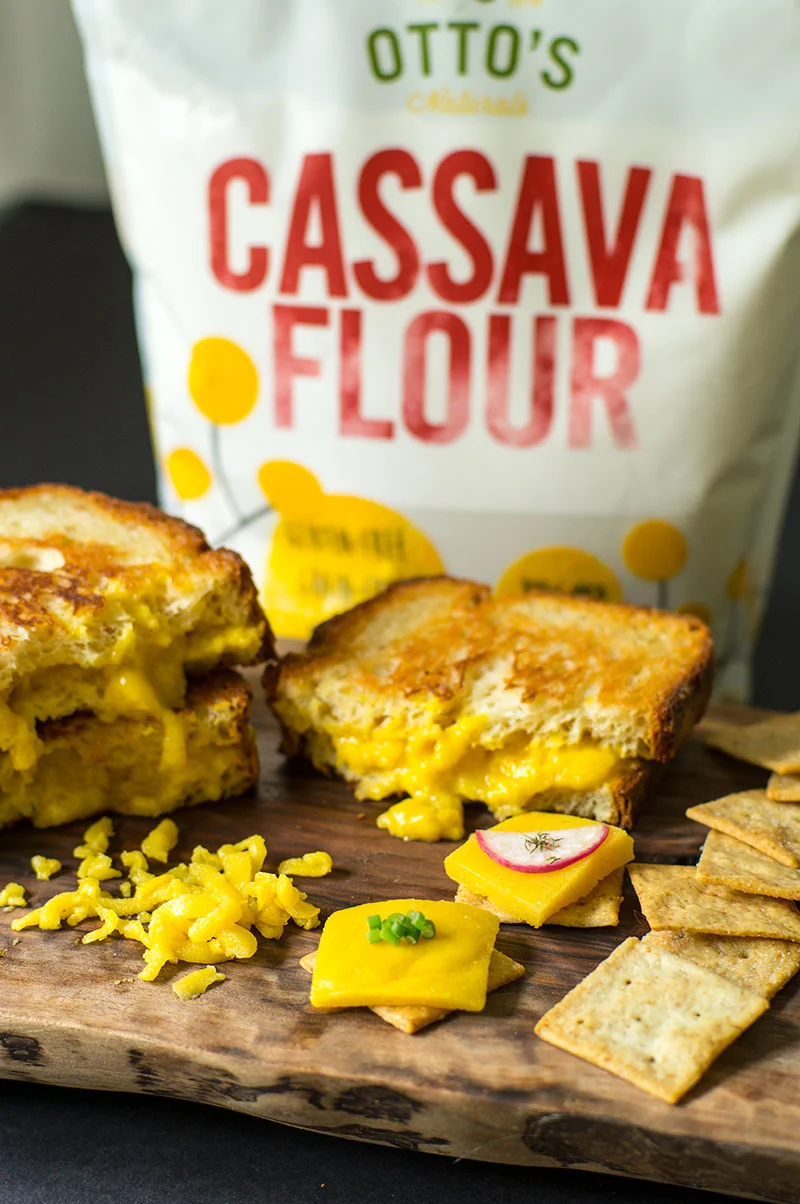
Option #1 is best when you want a meltable, stretchy cheese. If you use a sharp knife and a gentle hand you can slice it, but be aware that it does set more softly than real cheddar cheese and also more softly than option #2.
Option #1 holds up to baking for a long time in the oven. Think pizza toppings, added to layers of lasagna, in potatoes au gratin, etc. It's also perfect in things like grilled cheese, on top of a burger or other hot sandwich, or melted onto a biscuit for a bacon egg cheese breakfast.
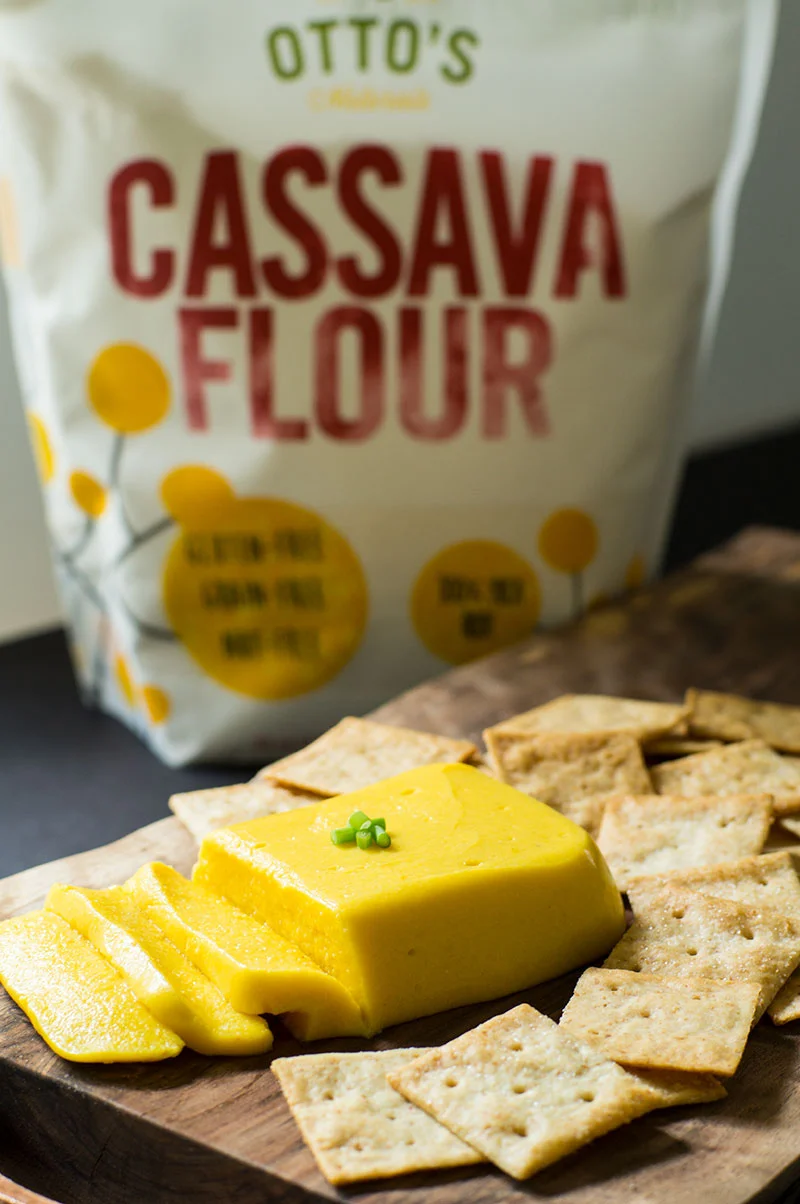
Option #2 is best when you want an easily sliceable and shreddable cheese to be enjoyed chilled. While it does melt, it does not retain its stretch and it does not stand up to long cooking times. It also has more of a sharp cheddar flavor thanks to the vitamin C. Cheese and crackers anyone?!
If you add vitamin C to Option #1 it makes it less stretch and causes the cheese to loose its hold over time in the fridge.
Option #2 does become delightfully gooey when it's melted even though it doesn't hold its stretch. In theory you should be able to use an equal amount of agar powder to make it vegan, but I did NOT test this to verify. If you test it yourself, please let me know how it turns out!
Pin this recipe here!

Tools & Ingredients Used In This REcipe
These are affiliate links to the exact products I used in my own kitchen to create this recipe. I only link to products that I believe are valuable.


Paleo Meltable, Shreddable, Stretchy Cheddar Cheese (AIP, Vegan option)
Published 05/22/2018
For many, giving of cheese is harder than grains when going Paleo or AIP. Other Paleo cheeses lack the ability to melt and stretch like real cheese, but now you can make something to satisfy your cheddar cravings easily at home! Also be sure to check out my meltable stretchy mozzarella.
Option #1 is the best for melting. It sets more softly than option #2 but is the one you want to use if you plan to place the cheese on top of something like a burger, piece of bread, etc. and then cook to melt. You can bake it in the oven for as long as you need and it will hold up and reamin stretchy (for example, if you want to use it on lasagna or on a pizza).
Option #2 is the best for slicing, shredding, and eating chilled. It does not hold its stretch when it melts, but it does get deliciously gooey. I have not tested this option using agar powder to confirm, but it should be an equal swap with the gelatin. If you test it, please let me know how it turns out!
Ingredients
I've linked to the exact products I used to develop this recipe.Option #1 (best for melting)
- 1 cup canned full-fat coconut milk
- 2 tsp non-fortified nutritional yeast
- 1 tsp unrefined salt
- 1/2 tsp granulated garlic
- 1/2 tsp granulated onion
- 2 tsp raw apple cider vinegar or fresh lemon juice
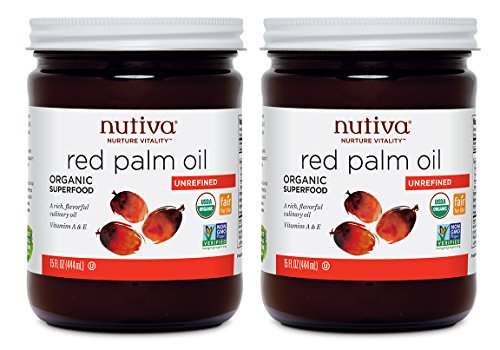
- 1 tbsp + 1 tsp sustainably sourced red palm oil
- 48 grams Otto's cassava flour (1/4 cup + 2 tbsp SEE NOTE)
- 180 grams water (3/4 cup)
- 1 cup canned full-fat coconut milk
- 3-4 tsp non-fortified nutritional yeast
- 1 tsp unrefined salt
- 1/2 tsp granulated garlic
- 1/2 tsp granulated onion
- 3/4 to 1 tsp vitamin C crystals SEE NOTE
- 2 tsp raw apple cider vinegar or fresh lemon juice
- 1 tbsp + 1 tsp sustainably sourced red palm oil
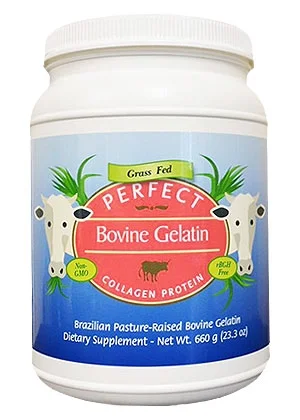
- 2 tsp grass-fed gelatin (use coupon code CURIOUS10 for 10% off)
- 1 tbsp water
- 48 grams Otto's cassava flour (1/4 cup + 2 tbsp SEE NOTE)
- 180 grams water (3/4 cup)
Instructions
- Important note about measuring Otto's Cassava flour: please measure by weight, not volume, for best results (explained above in the post). If you must measure by volume, use a spoon to pick up the flour and drop it into your measuring spoon so as not to compress it. If you use too much flour the cheese will NOT set properly.
- Option #1: Add the coconut milk, nutritional yeast, salt, granulated garlic and onion, apple cider vinegar, and red palm oil to a saucepan and heat over medium heat while whisking until everything is melted.
- Add the 180 grams (3/4 cup) water to a mixing bowl and then gradually add in the Otto's cassava flour, stirring with a fork so that clumps do not form. The end result should be a slurry in which the flour is completely suspended in the water.
- Pour the cassava flour slurry into the saucepan and continue to cook over medium heat, whisking occasionally. After about 6-8 minutes the mixture will begin to thicken, begin to whisk often. Keep cooking and whisking until the cheese becomes very sticky and pulls together on itself as you whisk, about 10-14 minutes total cook time after adding the slurry. The cheese will also pull away from the bottom of the pan as you whisk. DO NOT UNDERCOOK!
- You may use the cheese immediately, if desired, as a sauce. You can drizzle it on top of cooked veggies, potatoes, etc. If you want sliceable cheese that you can put on top of food and then allow to melt, pour the cheese into a glass container (that can withstand heat and cold shock, I like these since they can go from freezer to oven) with a lid. If your container can handle hot to freezer, you can place it in the freezer to let the cheese set more quickly. Otherwise, place it in the refrigerator and allow to cool for several hours.
- Use a sharp knife and a gentle hand to cut the cheese into slices. This version of the cheese is softer than traditional cheddar cheese. You can place slices on in between pieces of bread to make a grilled cheese, on top of a biscuit placed under the broiler to make a bacon egg cheese biscuit, on top of a burger, on top of a baked potato that you pop in the oven to allow the cheese to melt....there are SO many possibilities! For shreddable cheddar and slices firm enough to put on top of crackers or veggies to eat chilled, see option #2.
- Option #2: The only differencs between the 2 options is extra nutritional yeast and the addition of Vitamin C and gelatin. Simply add the vitamin C to the coconut milk in the first step. Meanwhile, bloom the gelatin by adding the 1 tbsp of water to a small bowl and slowly sprinkling the gelatin on top. It should form a gel without any clumps. Add the bloomed gelatin to the pot and allow it to melt BEFORE adding the cassava flour slurry. Cook with the exact same method as described or Option #1.
- Note about vitamin C: I have used both the crystals and also opened these capsules and used the powder inside, and both work equally well.
- Option #2 sets very firmly and can be easily shredded and sliced and is perfect when enjoyed chilled such as on top of crackers or sliced veggies, on cold lunchmeat sandwiches, or as a garnish shredded on top of hot dishes.
Prep Time: 00 hrs. 05 mins.
Cook time: 00 hrs. 15 mins.
Total time: 20 mins.
Tags: Paleo, Vegan, AIP, Dairy-Free, Paleo Cheese, AIP Cheese, Coconut Milk Nutritional Yeast Dairy-Free Cheese, Otto's Cassava Flour